Download Disk Management Alternative Software for Free Now!


How to shrink volume to make unallocated space
Sometimes you may face C partition running out of space, and at the same time D partition is too in low disk space status. How to shrink volume to make unallocated space under this situation? Actually, you can shrink partition E to make some free space, and then move the space to near C partition so that Extend Volume in C partition can be clicked. It's easy to describe but hard to complete, for Disk Management has no functions like Move partition or unallocated space.
How to shrink volume in Disk Management
Although it has no move function, we can first use it to shrink volume, and then we'll go on with extension on Partition Extender
Those are the limitations in Disk Management, if you want to add unallocated space to C drive, you have to move the space to the right side of boot partition, then use Extend Volume to Unallocated Space, so Windows Server users don't use the default tool to manage disk space when the four listed common situation happens. Do as follow:
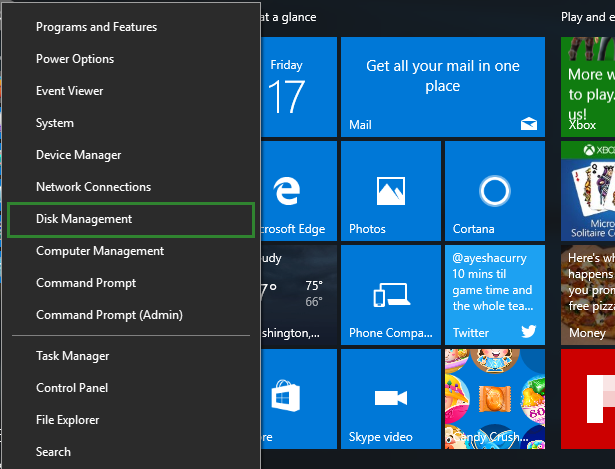
- Right-Click on Start > Select Disk Management
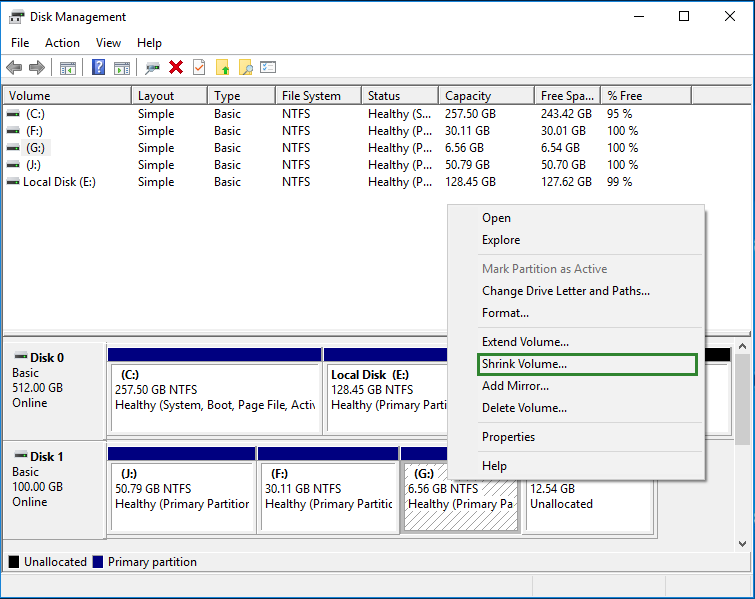
- Right-Click on E partition or the 3rd partition to Shrink Volume
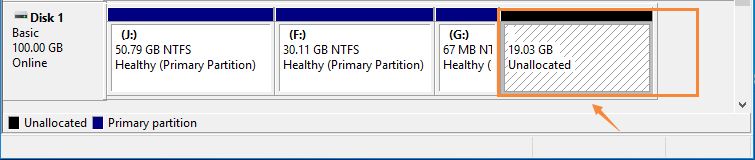
- Enter Shrink Size to Shrink

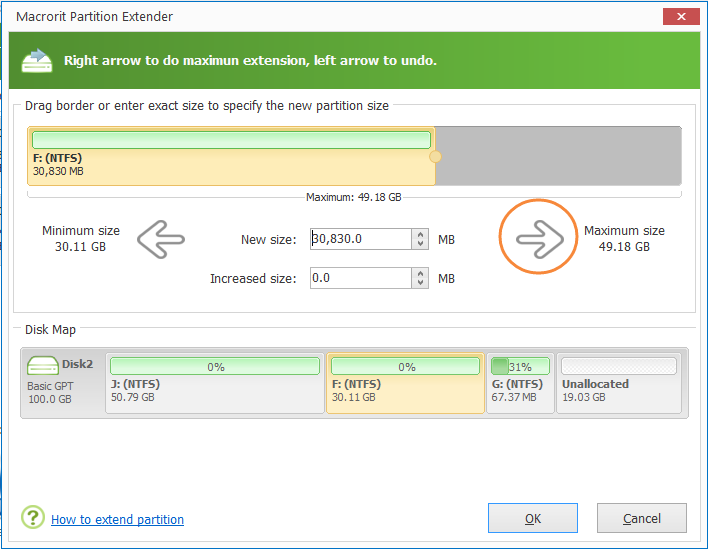
- Run Partition Extender, Extend D partition first

- Click maximum size to do the max extension, then OK. If you stop here, you are extending data partition, go on to extend system partition.
- Then Click on C partition to do the same job

See, with Partition Extender's help, you don't have to move partition in the whole progress, in the end you have an extended C Drive with space from e partition.